 Bellingham Siding
 Why Siding in the Puget Area Wears Differently
Homes in the Puget area sit close enough to the water that siding takes on a different set of stresses than siding fifty miles inland. Salt-laden air corrodes fasteners and finishes faster than dry-climate air does. Wind-driven rain off the Sound doesn't just wet the surface of a wall — it pushes moisture sideways into seams, laps, and trim joints that would stay dry in a calmer climate. And Whatcom County's long, cool, wet stretch from fall through spring gives moss, algae, and mildew months to colonize any siding surface that holds moisture or sits in shade.
None of that means siding here is doomed to fail. It means siding here has to be installed and repaired with those specific stresses in mind, not with a generic approach that would be fine in a drier part of the state. A repair that looks clean on the surface but doesn't address how water actually moves through a wall assembly in this climate tends to fail again within a few years — often in the same spot.
What "Marine Climate Stress" Looks Like on a Wall
In practice, this shows up as a handful of recurring patterns: fastener corrosion staining and popping loose over time, paint and caulk failing years ahead of their rated life on the water-facing sides of a house, moss establishing itself on north- and west-facing walls that stay damp longest, and soft or delaminating spots at the bottom courses and around windows where wind-driven rain concentrates. Recognizing which pattern you're dealing with is the first step in scoping a repair correctly.
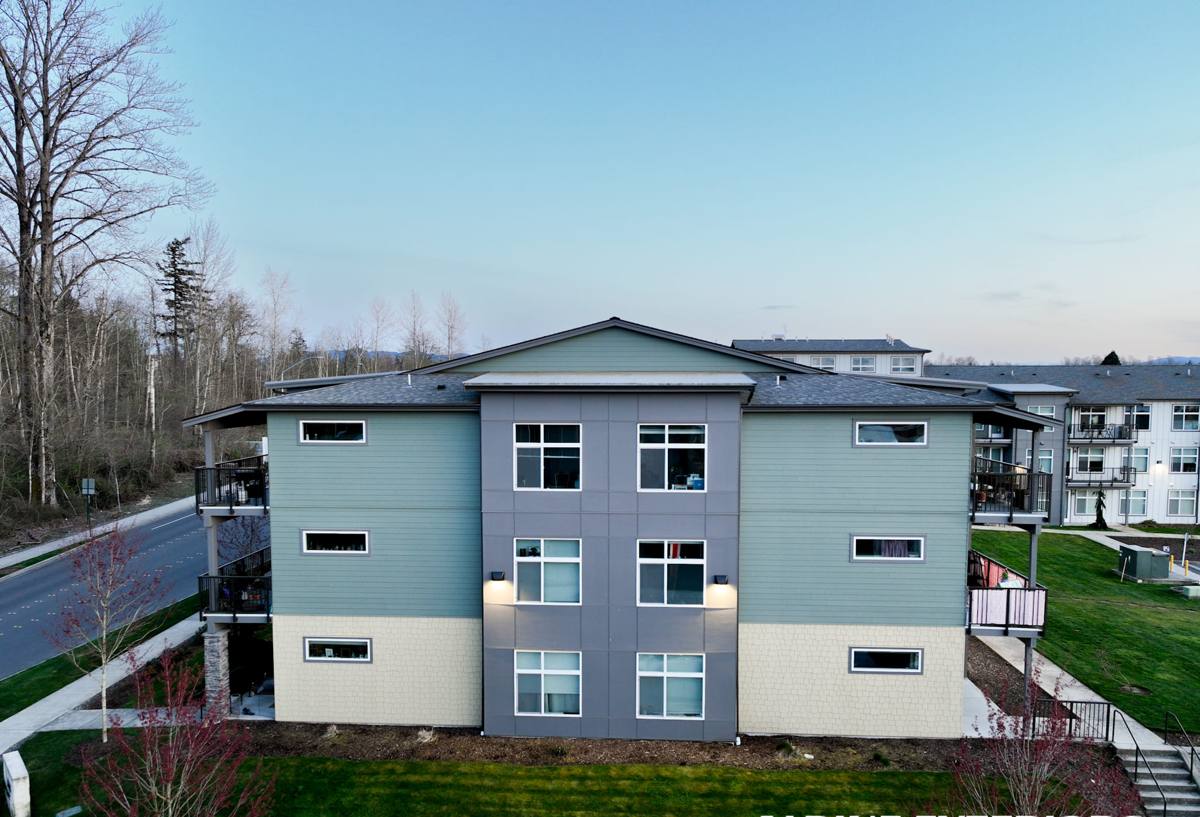
Signs Your Siding Needs Repair, Not a Full Replacement
Not every problem calls for tearing the whole wall down to the studs. A large share of the siding calls we get in the Puget area are legitimately repairable — the trick is knowing which damage is contained and which is a symptom of something bigger happening behind the siding.
- Isolated soft or spongy spots you can press in with a thumb, usually near the bottom of the wall or below windows
- Cracked, split, or missing boards from one impact (a ladder, a branch, equipment) rather than widespread deterioration
- Visible fastener corrosion or "nail pops" causing rust streaks below individual nail heads
- Persistent moss or algae growth that keeps returning after cleaning, especially on shaded or north-facing walls
- Caulk that has shrunk, cracked, or pulled away at trim joints, corners, and window/door casings
- Paint failure — peeling, bubbling, or chalking — concentrated in specific areas rather than the whole house
- Water staining or discoloration on interior walls near an exterior wall that lines up with an exterior soft spot
If the damage is contained to a few boards or a single section, that's typically a repair. If you're seeing soft spots in multiple, unrelated areas, or interior water staining that keeps spreading, that's usually a sign the underlying moisture barrier or flashing has failed broadly — and patching individual boards without fixing what's behind them just delays the real problem.
What a Correct Repair Actually Involves
A siding repair that's just cosmetic — caulk, paint, a new board face-nailed over the old one — is the kind of work that fails again in a wet climate like ours. A repair done right addresses what's underneath the visible siding, not just what's visible.
Checking the Water Management Layer First
Behind every properly installed siding system is a weather-resistive barrier and flashing designed to shed water that gets past the siding face — because in a climate with driving rain, some water always gets past the face. Before we replace a single board, we open up the damaged area enough to check whether that barrier and the flashing around windows, doors, and penetrations are intact. If they've torn, sagged, or were installed with gaps, replacing the siding on top of them just resets the clock on the same failure.
Matching Materials and Fasteners
Repairs also need to match the existing material correctly, or use corrosion-resistant fasteners and materials suited to a marine climate, so the patch doesn't become the next weak point. Mixing incompatible materials, or using standard fasteners in a spot that gets direct salt-air exposure, is a common shortcut that shows up as new corrosion staining within a couple of years.
Sealing and Finish Work
The last step is proper sealing at every joint, corner, and penetration — using sealants rated for exterior, high-moisture exposure — and a finish that matches the surrounding siding closely enough that the repair doesn't stand out as a patch. Rushed caulk work is one of the most common causes of repeat repair calls we see on older homes in this area.
Common Repair Scenarios We See in the Puget Area
| Symptom | Likely Cause | What the Fix Involves |
|---|---|---|
| Soft board below a window | Failed or missing head flashing letting rain track down behind the siding | Remove affected boards, correct the flashing, replace siding, reseal |
| Rust streaks below fastener heads | Non-corrosion-resistant fasteners exposed to salt air | Remove and refasten with appropriate hardware for the exposure |
| Moss colonizing a shaded wall | Persistent moisture and low sun exposure, sometimes worsened by nearby vegetation | Clean surface, address moisture source, treat and monitor going forward |
| Interior water stain near an exterior wall | Barrier or flashing breach behind the siding, often further from the visible damage than expected | Open the wall enough to trace the path, repair the barrier, then the siding |
| Paint peeling only on the water-facing side | Wind-driven rain saturating the siding face faster than it can dry | Assess whether it's a coating issue or a moisture-retention issue before repainting |
Repair vs. Replace: How We Actually Decide
Homeowners understandably want a straight answer on whether their siding needs a patch or a full re-side, and it's a fair question — but the honest answer depends on a few specific factors we check on site rather than a rule of thumb.
| Factor | Leans Toward Repair | Leans Toward Replacement |
|---|---|---|
| Extent of damage | Isolated to one wall or a few boards | Recurring across multiple walls or elevations |
| Underlying barrier condition | Intact once exposed and checked | Torn, missing, or improperly lapped in multiple spots |
| Age and material of existing siding | Newer, still-supported material in otherwise good shape | Aging material past its practical service life or no longer manufactured |
| Cause of the damage | A single event — impact, one flashing failure | A systemic issue — original install quality, chronic moisture |
| Cosmetic match | Repair section can be blended acceptably | Patch would be visually obvious against faded or discontinued siding |
We'll always tell you plainly which side of that table your house falls on, including when a repair is genuinely the right call and a full re-side isn't necessary. We don't have an incentive to oversell replacement — we have an incentive to have you calling us again in ten years because the last job held up.
Why We Do This Work in James Hardie Fiber Cement
When a repair involves replacing damaged boards outright, or when the assessment points toward a re-side rather than a patch, we install James Hardie fiber cement exclusively. We don't install vinyl, LP SmartSide, or other engineered wood products, and in a climate defined by salt air, driving rain, and a long moss season, that's a deliberate standard, not a brand preference.
Fiber cement is non-combustible and dimensionally stable, so it doesn't swell, cup, or absorb water the way wood-based products can when they take on repeated wetting cycles. James Hardie's ColorPlus finish is factory-applied and baked on, which holds up better against UV and moisture exposure than field-applied paint — a real advantage on the water-facing walls that take the worst of the wind-driven rain here. Hardie's HZ5 product line is engineered specifically for climates with more moisture exposure, which matters directly for homes near the Sound.
We're not going to tell you every other siding product is unusable — vinyl and engineered wood both have legitimate applications and homeowners who are happy with them. But for the repair and replacement work we stand behind in this climate, we've made the call that fiber cement gives homeowners the best combination of moisture performance, finish durability, and long-term warranty support, and we'd rather do fewer materials well than spread ourselves across products we don't fully trust in salt air and driving rain.
Our Repair Process, Start to Finish
- On-site assessment. We look at the visible damage and, where warranted, open up a section to check the barrier and flashing underneath before quoting anything.
- Honest scope and estimate. You get a plain explanation of what we found, whether it's a repair or points to something larger, and a written estimate before any work starts.
- Material matching or Hardie replacement. Where boards need replacing, we match existing material where that's the right call, or install James Hardie fiber cement where a full section is being redone.
- Correct water management. Any flashing or barrier issue found gets corrected as part of the repair, not left in place under new siding.
- Fastening and sealing. Corrosion-appropriate fasteners and exterior-rated sealants at every joint, corner, and penetration.
- Finish and walkthrough. We finish the repair to blend with surrounding siding and walk the work with you before calling it done.
Why a Crew That Already Works in the Puget Area Matters
A siding repair crew that mostly works inland doesn't see salt-air corrosion or wind-driven rain patterns often enough to recognize them on sight. A crew that regularly works Bellingham and the surrounding Whatcom County waterfront areas knows which walls on a given orientation take the worst weather, which fastener and flashing choices actually hold up here, and how long moss season realistically runs so repair and cleaning timing can be planned around it rather than guessed at. That local pattern recognition is the difference between a repair that gets scoped right the first time and one that turns into a return visit.
Timing a Repair Around Puget's Weather Windows
Siding repair work — especially anything involving fresh caulk, sealant, or paint — needs dry conditions and workable temperatures to cure properly. In this area that generally means the drier stretch from late spring through early fall gives the most reliable working window, though contained repairs can often be scheduled in shorter dry breaks during the wetter months when the situation calls for it. We'll be upfront with you about whether the timing you want is realistic for the work you need done.
Keeping a Repair From Becoming a Repeat Call
A correctly done repair should last as long as the surrounding siding, but a few simple habits make a real difference in this climate:
- Rinse siding, especially shaded and north-facing walls, once or twice a year to slow moss and algae buildup
- Keep gutters clear and downspouts directed away from the foundation so runoff isn't saturating the base of the walls
- Trim back vegetation that's shading a wall or holding moisture against the siding
- Recaulk trim and joint sealant on the schedule your product's manufacturer recommends, not just when it visibly fails
- Walk the exterior after major windstorms to catch impact damage or lifted boards early, while they're still a small fix
Catching small problems within a season or two of them starting is what keeps a repair a repair, instead of letting it grow into a replacement.
If you're seeing soft spots, moss that won't quit, or damage from the last storm, we're happy to take a look and give you a straight answer on what it actually needs. Reach out for a free, no-pressure estimate using the form below.