 Bellingham Siding
 Building New in Birch Bay: Why Window Installation Deserves Extra Attention
Birch Bay sits right on the Salish Sea, and that location shapes everything about how a house should be built — windows included. New-construction window installation is a one-shot opportunity: the windows go in before siding, before trim, before the house is closed up. Get the flashing and integration wrong at this stage and you're not looking at a simple fix later — you're looking at pulling siding, cutting into house wrap, and re-doing work that should have been right the first time. We install new-construction windows for builders and homeowners throughout the Bellingham area, and Birch Bay jobs get treated with the respect that shoreline exposure demands.
This page is about one thing specifically: installing windows in new-construction openings in Birch Bay homes, and what that job needs to look like given the salt air, driving rain, and long moss season that define this stretch of Whatcom County.
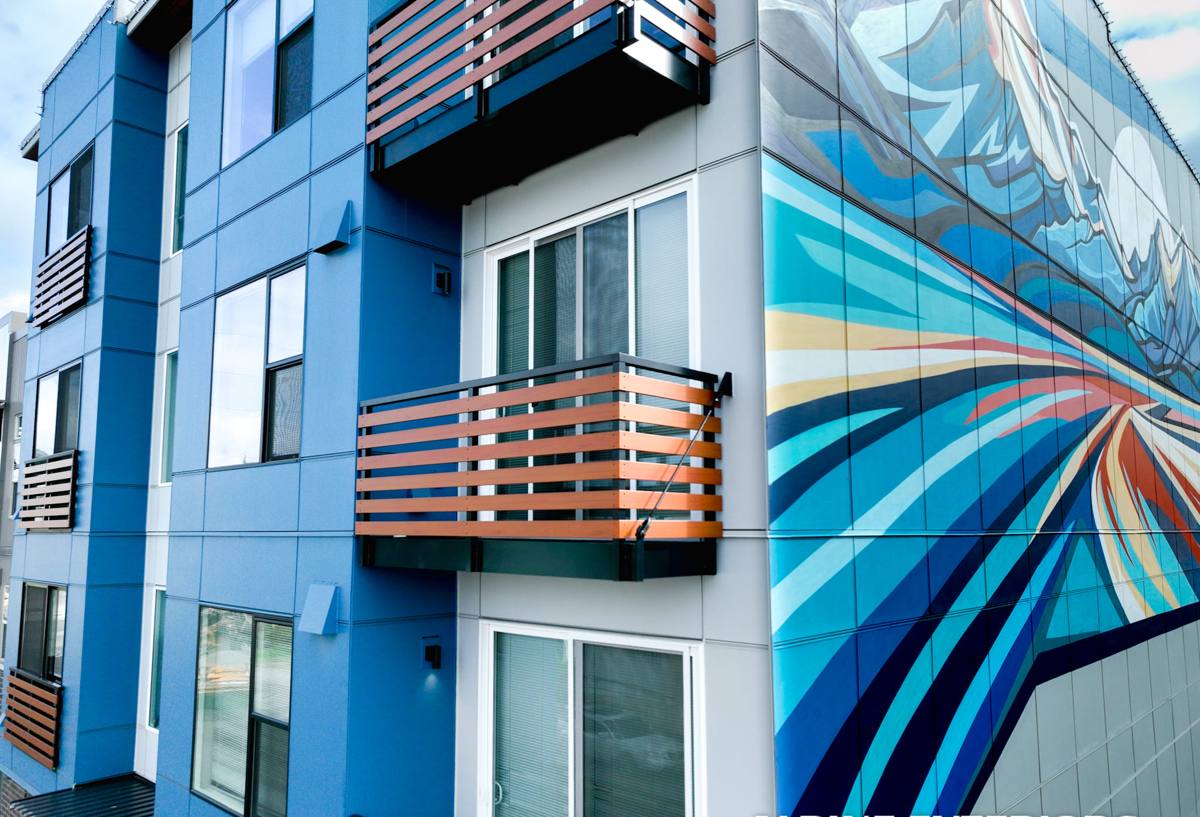
What Birch Bay's Climate Actually Does to a New Window Installation
Birch Bay isn't just "rainy Pacific Northwest" — it's a specific combination of conditions that pushes harder on window openings than most inland Bellingham neighborhoods see.
Salt Air and Corrosion
Proximity to saltwater means airborne salt settles on everything — siding, trim, and window hardware. Over years, that accelerates corrosion on fasteners, hinges, and low-grade cladding that wasn't specified for a marine environment. This matters most at the new-construction stage because it's when you choose the frame material and hardware finish. Picking the wrong spec now means dealing with pitted hardware or streaking corrosion stains on the siding below the window in five or six years.
Wind-Driven, Horizontal Rain
Storms coming off the water don't just fall — they get pushed sideways into the building envelope. A window opening that would be fine with a basic flashing detail inland needs a more deliberate water-management sequence in Birch Bay: sill pan flashing, properly lapped house wrap, and head flashing that actually sheds water outward instead of trapping it against the sheathing. Wind-driven rain finds every shortcut in a flashing job, and it usually finds it during the first big autumn storm, not right away.
The Long Moss and Moisture Season
Whatcom County's moss season runs long — shaded, damp conditions persist for months at a time on north- and west-facing walls near the water. Moss and algae hold moisture against building materials, which is a problem for anything porous or unsealed near a window opening: exposed OSB edges, unprimed trim, or gaps in sealant. A correct new-construction install accounts for this by keeping water out of the wall assembly entirely, rather than hoping materials can tolerate prolonged dampness.
New-Construction Windows vs. Replacement Windows: Why the Job Is Different
New-construction windows have a nailing flange that fastens directly to the framing before the weather-resistive barrier (house wrap) and siding go on. That's different from a replacement or "pocket" window, which gets inserted into an existing frame after the siding is already in place. The distinction matters because it changes what "correct installation" even means:
- New-construction installs integrate with the house wrap and flashing tape in a specific sequence — get the order wrong and water gets trapped instead of shed.
- There's no existing frame to hide behind — the rough opening, shim, and level/plumb work all have to be right the first time.
- Because the wall isn't closed up yet, this is the cheapest and easiest point in the whole life of the house to get flashing details right. It's also the last easy chance before that opening is buried under siding for decades.
For a Birch Bay build, that "get it right now" window (no pun intended) is worth taking seriously, because a flashing mistake discovered after siding is on costs far more to correct than it would have to prevent.
What a Correct New-Construction Window Install Involves
There's a defined sequence to this work, and skipping steps is where problems start. Here's what we actually do on a Birch Bay new-construction opening:
- Rough opening check. Confirm the opening is square, plumb, and sized correctly per the window manufacturer's specs — including proper allowance for shimming.
- Sill pan flashing. A sloped or pre-formed sill pan goes in first, so any water that does get past the window has a path back out instead of sitting on the sill and soaking into framing.
- Window set and shim. The unit is set into the opening, shimmed for level and plumb, and fastened through the nailing flange per manufacturer spacing — not just "enough nails to hold it."
- Flashing tape integration. Side flashing goes over the nailing flange, then head flashing laps over the side flashing (never the reverse) so water always sheds downward and outward, following proper shingle-lap order with the house wrap.
- House wrap tie-in. The weather-resistive barrier is cut and taped back into the flashing system so the whole wall plane drains as one continuous surface, not a patchwork with gaps at the window.
- Interior and exterior sealant. Backer rod and sealant at appropriate points — not sealant used as a substitute for proper flashing, which is a common shortcut that fails quietly over years.
- Final operation check. Every sash and hardware set gets tested before we move on, so any adjustment happens before trim and siding make it harder to access.
Checklist: What to Confirm Before Siding Goes On
- Sill pan is in place and sloped or drained toward the exterior
- Flashing tape is lapped in the correct order (sill, sides, then head)
- House wrap is properly cut, tucked, and taped back into the flashing — no gaps or reverse laps
- Fasteners are corrosion-resistant and spaced per manufacturer instructions
- Window is shimmed level and plumb, with no racking when the sash is operated
- Interior sealant is applied without skipping it as a stand-in for exterior flashing
- Every unit opens, closes, and locks correctly before the crew leaves the opening
Choosing Frame Materials for a Birch Bay New Build
Frame and hardware choice matters more here than in a lot of inland Whatcom County builds, because of the salt air and sustained moisture exposure. There's no single "best" material for every project — it comes down to budget, maintenance appetite, and how exposed the elevation is.
| Frame Material | Marine-Air Performance | Maintenance | Typical Trade-Off |
|---|---|---|---|
| Vinyl | Good — won't corrode or rot; UV-stable formulations hold up well | Low | Fewer color/finish options; frame can flex on very large units |
| Fiberglass | Very good — dimensionally stable, resists salt-air degradation | Low | Higher upfront cost than vinyl |
| Wood-clad | Depends heavily on cladding quality and installation detail at joints | Higher — exposed wood elements need monitoring near saltwater | Best appearance option for some builds, but more sensitive to installation and moisture detailing |
| Aluminum | Prone to corrosion and condensation in cold, damp marine climates unless thermally broken | Moderate | Generally not our first recommendation for direct waterfront exposure |
We'll walk through this with you based on which elevation of the house faces the water and prevailing weather, rather than defaulting to one product for the whole build. A window on a sheltered, inland-facing wall doesn't need the same spec as one facing straight into the Strait.
How We Work With Builders and Homeowners on Birch Bay Projects
Most of our new-construction work in Birch Bay happens in coordination with a general contractor's framing schedule, but we also work directly with homeowners managing their own build. Either way, the process looks like this:
1. Site Visit and Opening Review
Before install day, we look at the actual rough openings against the window schedule and manufacturer specs — this catches sizing or framing issues while they're still cheap to fix.
2. Scheduling Around the Build
Windows need to go in after the house wrap is started but before siding — a specific window in the build timeline. We coordinate with the GC or homeowner so our crew is on site at the right point, not holding up framing or trim crews behind us.
3. Installation
Full crew on site, following the sequence above for every opening, with attention to which elevations face the water and prevailing wind.
4. Walkthrough
Before we leave, we walk every opening with whoever's managing the build — operation, flashing visibility where applicable, and sealant lines — so there are no surprises once siding closes things up.
Common Mistakes We See on New Builds in This Area
We get called in sometimes after the fact — either to fix an install before siding goes on, or years later when a leak shows up. The recurring issues in Birch Bay and similar shoreline settings tend to be the same handful of things:
- Flashing laps in the wrong order — head flashing tucked under the house wrap instead of over the side flashing, which sends water into the wall instead of down and out.
- Sealant used instead of proper flashing — caulk isn't a substitute for a drainage plane, and it's the first thing to fail under sustained wind-driven rain.
- Standard fasteners in a marine environment — using hardware that isn't rated for salt-air exposure, leading to premature corrosion and staining.
- Skipping the sill pan — a small shortcut that removes the one thing designed to protect the sill and framing from incidental water intrusion.
None of these show up as a problem on install day. They show up two, five, or ten winters later, which is exactly why the installation stage is where this needs to get handled correctly rather than corrected afterward.
Why a Local Bellingham Crew Matters for a Birch Bay Build
Window installation fundamentals don't change from town to town, but the judgment calls do. Knowing which elevations in Birch Bay take the worst of the wind and salt spray, how long the moss season actually runs on a shaded wall, and what kind of storm exposure a given lot sees — that comes from working this coastline repeatedly, not from a manual. A crew that's only worked inland Whatcom County or drier climates can install a window correctly by the book and still under-spec it for what Birch Bay actually throws at a house over twenty years.
We're based in the Bellingham area and treat Birch Bay work as its own thing, not an inland install dropped onto a coastal lot. That's reflected in the flashing details, the fastener choices, and the honest conversations we have with builders and homeowners about which frame material actually makes sense for a given elevation.
Get an Estimate for Your Birch Bay New-Construction Windows
If you're framing a new build in Birch Bay or coordinating windows for a client's project, we're glad to walk the site, review your window schedule, and give you a straightforward estimate — no pressure, no sales script. Use the form below to get started.