 Bellingham Siding
 New-Construction Windows for Birchwood Homes
Birchwood sits close enough to Bellingham Bay and the Whatcom County waterfront that every new home built here inherits the same weather problems: salt-laden air off the water, driving rain that comes in sideways more often than straight down, and long stretches of gray, damp weather that keep every north-facing surface wet for days at a time. When you're building new, the window installation is one of the few chances you get to build the water management right the first time — before siding, trim, and paint cover up the parts that actually keep the house dry.
"New construction" windows aren't just a product category — they're an installation method. A new-construction window has a nailing flange around the perimeter that gets integrated directly into the wall's weather-resistant barrier (WRB) before siding goes on. That's different from a replacement or retrofit window, which gets set into an existing finished wall with no flange to tie into the WRB. Get the sequencing wrong on a new build, and you've built a leak path into the wall that won't show up until years later, usually as rot, mold, or a soft spot in the siding.
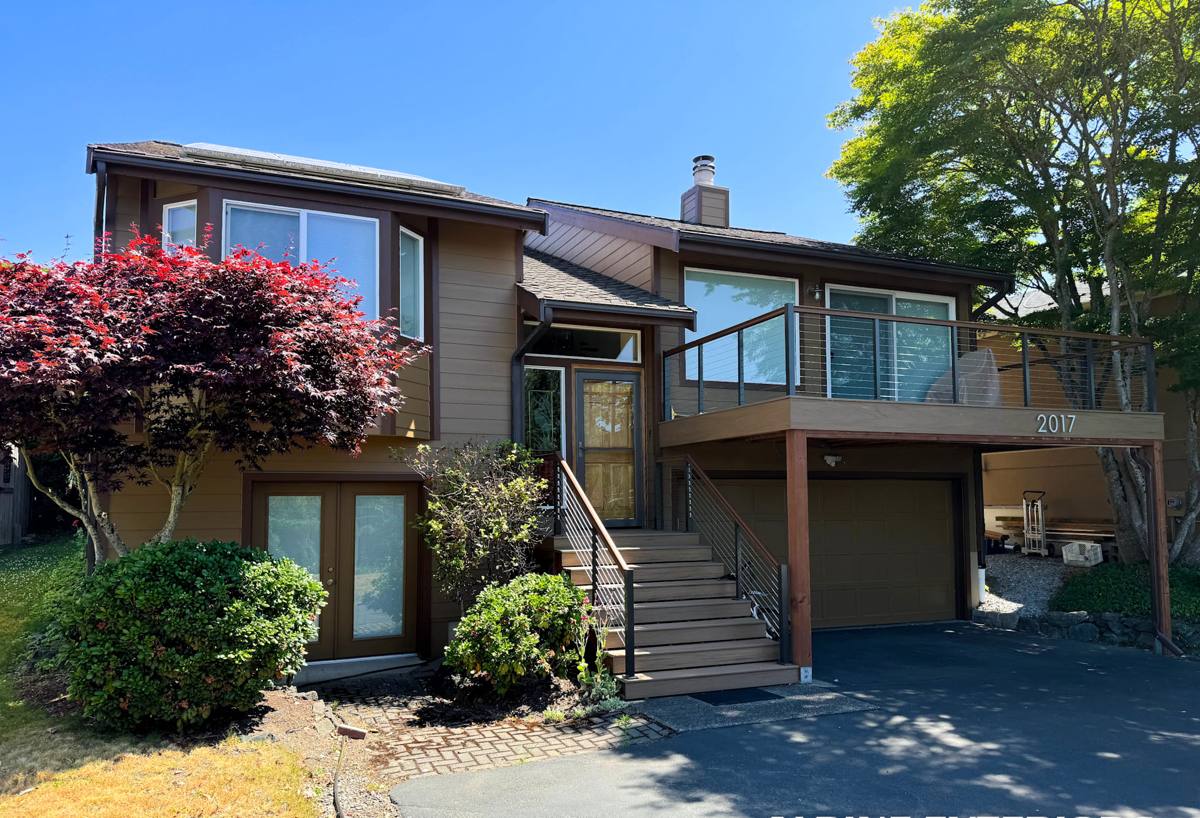
Why Bellingham's Marine Climate Changes the Job
Whatcom County's climate isn't dramatic, but it is relentless. That's the part that trips up crews who aren't used to building here.
Salt air and corrosion
Proximity to Bellingham Bay means airborne salt settles on exposed metal — fasteners, flashing, hardware — and accelerates corrosion compared to inland construction. On a new build, this means specifying corrosion-resistant fasteners and flashing metals at the window opening, not just at the exterior cladding, since a corroded fastener at a nailing flange can fail silently behind the siding.
Driving rain
Storms coming off the Strait of Georgia and Puget Sound regularly push rain sideways against west- and southwest-facing walls. A window that would stay dry under still-air rain in a drier climate can take a real soaking here. That makes sill pan flashing and proper shingle-lap sequencing non-negotiable, not optional upgrades.
Moss and prolonged dampness
Bellingham's moss season runs long — shaded, north-facing exterior surfaces can stay damp for weeks. That doesn't just affect roofs and siding; it affects window sills and trim, where trapped moisture behind poorly flashed openings feeds rot from the inside out, often long before any moss is visible on the surface.
The Water Management System Behind the Window
A correctly installed new-construction window is really a small water management system, and every layer matters:
Sill pan flashing
Before the window ever goes into the rough opening, the sill should get a sloped, sealed pan flashing that directs any water that gets past the window back outside the wall — not down into the framing. This is the single most important detail on a new-construction install and the one most often skipped or done poorly on production-schedule builds.
Shingle-lap sequencing
Flashing tape and building paper or house wrap need to be layered like shingles on a roof — each layer overlapping the one below it — so water is always directed down and out, never trapped behind a seam. The order is: sill pan first, then the window, then jamb flashing, then head flashing last, with the WRB integrated at each step so water sheds over every joint below it.
Head flashing and drip caps
Above the window, a head flashing or drip cap breaks the flow of water running down the wall so it can't collect at the top of the frame and work its way in around the trim. This detail matters more here than in drier regions, given how much of the year Birchwood spends under active rainfall.
Choosing the Right Window for a Birchwood New Build
Frame material, glazing, and performance ratings all interact with the local climate differently. There's no single "best" choice — it depends on the home's exposure, budget, and how much maintenance the owner wants to take on long-term.
| Frame Material | Moisture Resistance | Maintenance | Typical Lifespan |
|---|---|---|---|
| Vinyl | Very good — won't rot or corrode | Low; occasional cleaning | 20-30+ years |
| Fiberglass | Excellent — dimensionally stable in wet/dry cycling | Low | 30-40+ years |
| Wood-clad | Good if the cladding stays intact; interior wood needs protection | Higher — finish and seals need periodic attention | Varies with maintenance |
| Aluminum | Prone to condensation and thermal transfer without a thermal break | Low, but performance-dependent | 20-30 years |
As a matter of professional standard, we steer new-construction clients in this climate toward vinyl or fiberglass frames for most window openings, especially on walls exposed to prevailing wind-driven rain. That's not a knock on wood-clad windows — they can look excellent and perform well — but they carry a higher long-term maintenance burden in a climate where damp weather lingers for weeks at a stretch, and any lapse in upkeep shows up faster here than it would somewhere drier.
Performance ratings that matter locally
Washington's State Energy Code sets minimum U-factor requirements for new construction, and Whatcom County enforces those minimums at permit and inspection. In this climate, U-factor (how well the window resists heat loss) matters more day-to-day than solar heat gain coefficient (SHGC), since Bellingham gets far more overcast days than intense direct sun. We spec windows to meet or beat code minimums as a baseline, then adjust up for particularly exposed elevations.
Our Installation Process
On a new build, window installation has to fit into the general contractor's schedule without becoming the bottleneck — and without cutting corners to keep pace.
- Rough opening check. We verify every opening is square, plumb, and correctly sized before the window ever shows up on site — catching framing issues now is far cheaper than after siding is on.
- Sill pan installation. Sloped, sealed pan flashing goes in first, tied into the WRB.
- Window set. The window is set, shimmed level and plumb, and fastened per the manufacturer's instructions — this step protects the manufacturer's warranty, which can be voided by off-spec installation.
- Flashing integration. Jamb and head flashing go in with correct shingle-lap sequencing, tied into the WRB above and below.
- Perimeter insulation and air sealing. The gap between the window frame and rough opening gets insulated and sealed without over-compressing the frame, which can bow it and cause operational issues.
- Interior and exterior trim. Trim goes on last, once the water management layers underneath are confirmed complete.
Where New-Construction Window Installs Go Wrong
Most window failures we get called to diagnose on newer homes trace back to one of a handful of shortcuts taken during the original build:
- Sill pan flashing skipped or improvised with caulk alone instead of a proper sloped pan
- Flashing installed out of shingle-lap order, creating a seam that traps water instead of shedding it
- Windows fastened off-spec to save time, which can void the manufacturer's warranty
- Perimeter gaps over-filled with expanding foam, bowing the frame and causing doors and sashes to bind
- Head flashing or drip caps omitted on walls that don't obviously face the prevailing weather, but still take on driving rain during storms off the water
Quality Checklist for a Birchwood New-Construction Window Install
Whether you're the homeowner, the builder, or just want to know what a correct job looks like, this is what we confirm before trim goes on:
- Rough opening is square, plumb, and correctly sized for the window
- Sloped sill pan flashing is installed and sealed before the window is set
- Window is shimmed level and plumb, fastened per manufacturer specifications
- WRB is integrated with the flashing in proper shingle-lap order (sill, jambs, head)
- Head flashing or drip cap is present on all exposed elevations
- Perimeter gap is insulated and air-sealed without over-compressing the frame
- Window operates smoothly (opens, closes, locks) after final trim is installed
- Fasteners and exposed metal are corrosion-resistant for salt-air exposure
Why a Crew That Already Works Birchwood Matters
New-construction window installation isn't a job you want a crew learning on the fly. A crew that already works in Birchwood and the greater Bellingham area knows the local exposure patterns block by block — which elevations take the worst of the wind-driven rain, how long moss season actually runs in a given year, and what Whatcom County's inspectors look for at the window rough-in and final stages. That local familiarity means fewer surprises, fewer callbacks to the general contractor, and a window installation that's built to the climate it actually has to survive — not a generic install pulled from a manual written for a drier region.
We also coordinate directly with builders and framers on scheduling, since window installation timing on a new build has to sync with siding, trim, and inspection windows without holding up the rest of the crew.
After Move-In: What Birchwood Homeowners Should Know
A correctly installed new-construction window shouldn't need much attention, but a little awareness goes a long way in this climate. Keep weep holes (small drainage openings at the base of the frame) clear of debris and moss buildup, especially on north-facing windows that stay damp longest. Check exterior caulking at the trim edges annually, since UV and repeated wet-dry cycling can degrade sealants faster here than in drier climates. If you ever notice a soft spot at a sill, discoloration on interior trim, or a window that's become hard to operate, address it early — those are the first signs of a flashing detail that's let water in.
Get a Free Estimate for Your Birchwood New Build
If you're building new in Birchwood or elsewhere in the Bellingham area and want windows installed right the first time — with flashing and water management built for this specific climate — we're happy to walk the plans or the framed shell with you. Reach out below for a free, no-pressure estimate.